Monday, July 21, 2014

Birthday Cards

Here are a few cards I made today for my husband's birthday next week. Both used stamp sets from the current stampin' up catalog. The fox card was heavily inspired by another card I saw on splitcoaststampers.com, while the other card is an original idea from the creative side of my brain. What do you think?

Tuesday, August 14, 2012

DIY Baby & Toddler Skirt Tutorial


This baby skirt tutorial is so easy peasy you will probably make 10 in one day just because you can.

Ready to get started? Here we go!


What you will need is 1/4 yard of fabric, approximately 1 yard of lace or trim, and at the most 1/2 yard of elastic.

The easiest way to figure it out is measure around your child's waist.  Take that number and apply it towards the amount of elastic you will need.  Then double that number (or triple it if you want the skirt really scrunchy) and apply that number towards the lace/trim.  And for the fabric take the number you got for the waist and cut it in half.  For the fabric I would get a few inches added to your cut to play it safe. (Some employees can't cut a straight line.)

Here is an example:

Child's waist measures 14 inches. So I will need 14 inches of elastic.
Which means I will double that number to get 28 inches of lace.
And I will divide the waist line in half to get 7 inches of fabric. ( I will round up to 1/4 yard)

General sizes for ages:
0-3 mo    16"
3-6 mo    17"
6-12 mo  17.5"
18 mo      18"
24 mo      19"
2T           19.5"
3T            20"


Take your cut fabric and fold one side over an inch and iron flat.  Take the other long side and iron over 1/4 of an inch.


Take your lace/trim and pin it along the 1/4 inch fold.  Sew all the way down.


It should look like this now.  


Pin your elastic inside the 1 inch fold.  Make sure the elastic is wedged into the fold as deep as possible.  Sew the elastic to the fabric on the very end so it doesn't slip into the fold.  You are going to start sewing until you come about an inch from the end of the elastic.  Make sure while you are sewing you DO NOT sew over the elastic.


When you are about an inch from the end of the elastic, lower your needle and raise your foot.  Remove the pins and pull the elastic as tight as you can so the fabric you have already sewn scrunches up.  Repin your elastic inside the fold of the fabric and continue sewing.  Repeat this step as many times as you need until the elastic meets with the end of the fabric.  At the end, sew the elastic to fabric so it doesn't slip into the fold.


This is what you have.


Fold good sides together and pin so one side is hanging out about 3/4 of an inch.  Sew all the way down.


Now take the longer flap, fold over and tuck in the raw edge.  This step is to hide the ugly seam.  Pin and sew all the way down.


So it looks like this.


And this.


Tada!


And you can become obsessed and make a bunch of them!


Please ask any questions in the comments and share photos of your skirts :-)

Saturday, April 7, 2012

Zipper Pouch Tutorial- Free

This cute zipper pouch is really easy to make! I've created a simple tutorial for you to follow and you will be done within 30 minutes.  I made it from scraps


What you need:
  • (2) 4"x5" strips of fabric for the inside lining
  • (2) 4"x5" strips of fusible fleece or batting
  • (2)1 1/2"x5" strips and (2) 1"x5" strips of fabric for top and bottom (lavender polka dot)
  • (2) 3/4"x5" strips of fabric for accent strip (yellow)
  • (2) 2 1/4"x5" strips of fabric for main (pink polka dot) and (1) 2"x2" strip for keychain (not pictured)
  • (1) 2 1/2"x10" strip for ruffle (pink damask)
  • (1) 7" zipper
  • (1) key ring
  • A few buttons
  • Double sided interfacing (Not necessary, but recommended)


Step 1- Sew the 1" strip to the top of the 2 1/2" strip and then the 3/4" strip to the bottom of the 2 1/2" strip.  Press flat. (Do this for both sides)

Step 2- Sew the 1 1/2" strip to the bottom of the piece you have finished.  See photo. Press flat (Do this for both sides)

Step 3- Take your 2 1/2"x10" strip of fabric and iron the sides in about 1/4 to 1/2 inch. 

Step 4- Sew the ironed edges on each side.  Then sew a gathering stitch down the middle and gather to your preference.  (To make a gathering stitch, set your tension to a VERY long stitch, then after you sew all the way down the middle, on one end, hold ONE thread and scrunch the fabric down.)


Step 5- This is the step that is not necessary, but encouraged.  If you have the double sided interfacing, cut a strip the size of your gathered fabric.  Press your gathered fabric the way you want it to look on the front of the pouch, because once the interfacing goes on, there is no changing it.  Then peel one side of the interfacing and iron on the back of the gathered fabric.

If you decide not to do this step, proceed to next step.

Step 6- Once cool, peel off the back of the interfacing and place where you want on the front finished strip.  Iron on by following the directions the interfacing came with.

If you are not using the interfacing, sew onto the finished fabric.

Step 7- Cut off excess gathered fabric.

Step 8- Machine stitch or hand stitch a cluster of buttons on the right side.  Make sure to leave at least 3/4" on the right so you can sew the pieces together through your machine without having a button get in the way.


 Step 9- Sew the zipper on.  Place the lining fabric right side up, the zipper directly ontop, then the outside fabric face down ontop of the zipper, followed by the batting. Do this for both sides so your product will look like the photo below. If you are using fusible fleece, iron the fusible fleece on the back of the outside fabric before this step.


Step 10-  Top stitch the fabric on both sides of the zipper all the way down as shown above.  Then cut the excess zipper off, but make sure the actual zipper does not get cut off.  Also, I forgot to take photos, but take your 2"x2" strip of fabric, iron in half.  Open the fold and take each side folding in to meet the inner crease and iron, then fold in half again and iron.  Sew down each side so you come up with a piece that looks like the piece shown above.


Step 11- I forgot to cut the extra fabric off before this step, but cut it off so you have a nice straight seam.  Then unzip your zipper half way, and take your outside fabrics and fold good sides facing eachother.  Line them up and pin.  Then take your inside fabrics and face them together and pin.  Remember to fold the keychain tab (2x2 folded fabric) and pin it inbetween the front facing fabrics.


Step 12- Sew down both sides and sew the bottom of the outside fabric.  Snip the corners.  Make sure to not sew the bottom of the inside lining.


Step 13- Flip inside out.


Step 14- Fold the raw edged of inside lining in about 1/4" on each side.  Press flat.


Step 15- Sew as close to the edge as possible.


Now push the inside lining into place, add your key ring to the tab and TADA!


If you have any questions, or something is not clear, please leave it in the comments.
:-)

Saturday, December 10, 2011

The Christmas Garland

I am so excited I finished it! It really didn't take that long, and it wasn't too expensive to make, I just have a tendency to procastinate.  Anyways, the hub and I gave it to his aunt last night and she loved it.  Needless to say, I will be making another one for me :-)

Tuesday, November 29, 2011

Nursing Cover/ Hooter Hider Tutorial

I have been selling nursing covers on etsy since May 2011 and having been fairly successful.  At least a lot more successful than I thought I would be considering I was doing it as a hobby.  Anyways, making a nursing cover is super easy!  All you need is a working sewing machine.  Follow the steps below and leave comments with any questions.


What you will need:
1 yard of fabric
2- 1.5" D rings
1/2 yard of boning (preferably white)
1/4 yard of terry cloth
100% cotton thread

Ok! Lets get started! If you need to blow the picture up, just click on it to get a closer look, fyi.


Iron your fabric with it folded the way it comes off the bolt.   Cut the salvage end off and then cut a 3 1/2" strip and a 30" strip.  You will have some leftover fabric which can be used to make a matching burp cloth or baby bib.


Unfold your fabric and iron the crease out on both pieces of fabric.  Take your 3 1/2" strip and cut it at 9 inches as pictured above.  These 2 strips will be the straps that tie around your neck.


Now you are going to take the 2 shorter sides of your main fabric and fold them in 1/4-1/2 inch and iron. 

Then fold again and iron.


Now do the same with one of the long sides on the fabric.  If your fabric has a bottom, then do this step on the bottom side of the fabric.  Then do the same thing on the top side of the fabric except instead of 1/4-1/2 inch fold, you want to do 3/4-1 inch fold.  The top side needs to be a little bigger because of the boning we will be sewing in.
 +

Take your smaller 3 1/2" strip, fold hot dog style with good side facing in.  Sew 1/4" with a lock stitch on both ends.  (P.S. sorry my nails are gross)


Now take the longer strip of the 3 1/2 fabric and do the same thing.  Fold hot dog style, good sides facing in, and sew all the way down. EXCEPT this time when you get about 3 inches from the end, sew diagonally towards the opposite corner. 


Cut off excess fabric with about 1/4" seam allowance.


Take both straps, flip inside out (Very tedious part) and iron both flat with the seam down the middle.


Again, sorry for my gross nails, take the short strap, fold in half with the seams on the inside and iron flat.


Take your long strap and sew both sides with 1/4" seam allowance.  If you start at the raw edge and sew towards the pointed end, you can lower the needle and pivot the fabric when you are ready to sew the other side.  It'll give you a clean, professional look..


Take the 2 D rings and slip them in the crease of the folded strap.  Sew up one side with 1/4" allowance and when you get close to the D rings, lower your needle, raise the pressure foot, and pivot the fabric.  Sew until your about 1/4" from the end, then pivot the fabric again and sew to the end.  It will look like the picture above while sewin and below when finished.


Now take the ends of the straps and fold them about 3/4 inch and iron flat.  When you fold up the fabric, make sure to fold it on the best side.  This will be the front facing part of the straps.
(The picture above shows the front facing fabric.)


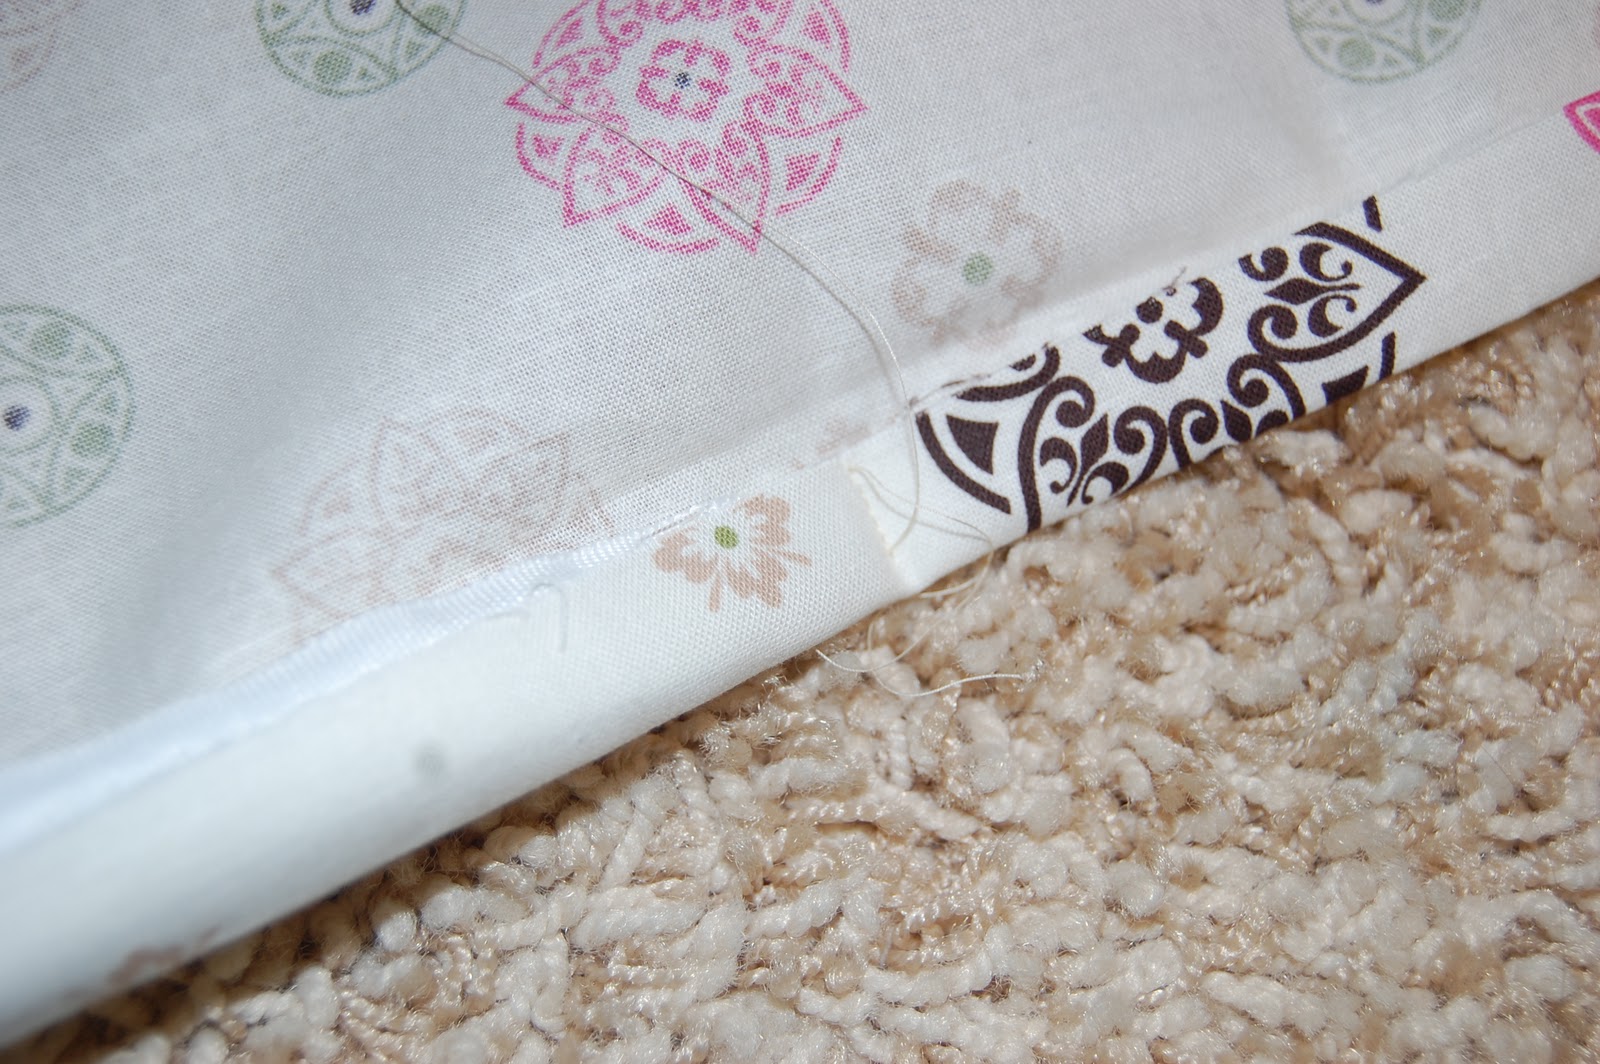
This is what you should have so far.


Take your terry cloth, fold into a triangle like above, and cut a straight line. 


Do this twice so you have 9" squares of terry cloth


Fold both squares in half so they make triangles.  Iron flat.


Take each triangle and place them in bottom corners. 


Fold the ironed edges over the terry cloth.  If you would like, pin the fabric and terry cloth together.


Sew the 2 sides first.


Then sew the bottom


This is what it should look like so far.


This next part isn't necessary, but it adds small pockets to store nursing pads or binkies while nursing.  Sew 2 lines (Like photo below) on each terry cloth corner.


Now take your boning and center it on the top unsewn edge.  Fold the fabric over once.  With the boning arching towards you, slip it under the fold and sew each side of the boning to hold it in place.  I do this so the boning doesn't slip around after the nursing cover has been washed a few times.


Fold the fabic again so the boning is arching away from you.


Take your straps and place them over the stitches that are holding the boning in place.  Pin them if desired.  It doesn't matter which strap goes on which side, its your preference.


Sew all the way down on the left side.  Make sure the straps are snuggly folded around the main folds.


Sew again on the right side of the fold now, so you have a stitch on each side of the boning.  The will really secure the boning.


This is the boning and long strap


This is the boning and D ring strap


This is the front of the finished product


There is the binky pocket and wipe to clean baby's little mouth after feeding.


Well I hope this was detailed enough!  And if you don't want to tackle this project, you can always purchase one at my shop Mommy's Baby Boutique